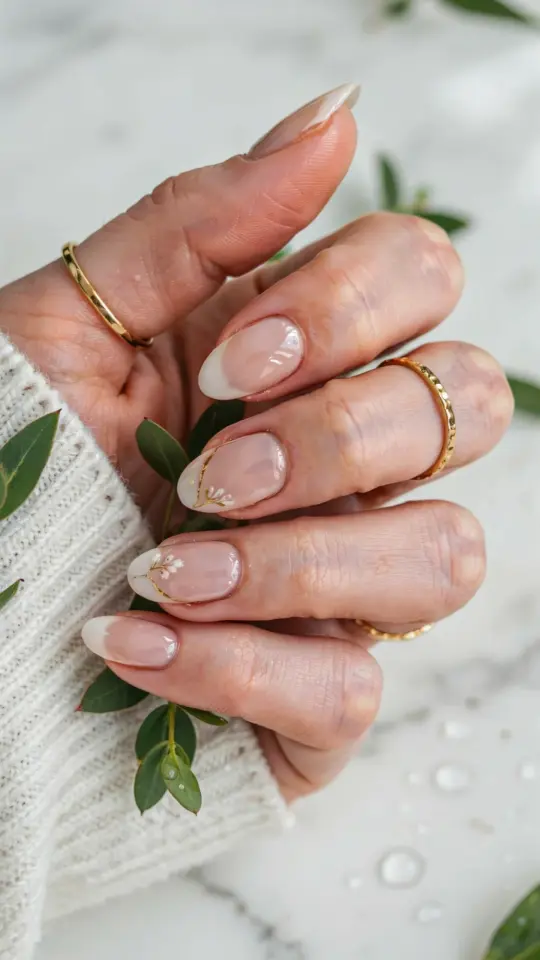
Gathering Your Mermaid Nail Art Supplies
Before you begin, you need a few specific tools. You cannot create that iridescent scale effect with just any polish. Look for a sheer shimmer base (like a pale pink or blue with fine holographic glitter), a teal or sea-green creme, and a top coat with a glossy, gel-like finish. A makeup sponge (the kind with small pores) is essential for the scale pattern. You also need dotting tools or a toothpick for accent details. Optional but helpful: a small piece of plastic wrap for a marbled effect and adhesive nail foils for extra shine.
You can find most of these items at a drugstore or online. Avoid thick, chunky glitters for the base layer; they will make the sponge texture look bumpy. Stick to fine glitter or iridescent micro-glitter. I also recommend a sticky base coat designed for glitter polishes. It helps the shimmer stay in place and prevents chipping.
Prepping Your Nails for the Perfect Base
Prep is often skipped, but it makes the difference between a manicure that lasts three days and one that lasts a week. Start by pushing back your cuticles gently with a wooden stick. Do not cut them; just push them back to create a clean nail bed. Then lightly buff the surface of each nail with a fine-grit buffer. This removes shine and gives the color something to grip.
Wipe each nail with a little acetone or rubbing alcohol on a cotton pad. This removes dust and oil. Apply a thin layer of base coat. Let it dry completely. For a mermaid look, I often use a ridge-filling base coat because it smooths out any unevenness that might show through the sheer shimmer polishes. Wait two minutes before moving to the next step.
- Push cuticles back gently (do not cut).
- Buff nails lightly to remove shine.
- Wipe with alcohol or acetone to dehydrate.
- Apply one thin layer of base coat and let dry.
How to Create a Shimmering Mermaid Scale Effect
This is the core of your design. You will use a sponge to create a layered scale pattern. Start by painting each nail with two coats of your teal or sea-green creme polish. Let it dry fully. Then take your makeup sponge and cut it into a small rectangle about the width of your nail. Apply stripes of your shimmer polish (the iridescent one) and a second lighter color (like a pale aqua) directly onto the sponge. Do not blend them; just place them next to each other.
Press the sponge onto your nail in a dabbing motion, moving from the cuticle to the tip. You will get a mottled, multi-toned effect. For actual scales, wait until this layer is nearly dry, then use a dotting tool or the tip of a toothpick to drag small half-circles through the sponge layer. Alternatively, you can buy a nail stamping plate with a scale pattern. Press the stamp onto the nail after the base color dries. I prefer the sponge method because it looks hand-painted and organic, not stamped and uniform.
Repeat the sponge step on each nail. If the sponge gets clogged, cut off the used edge. Work quickly, because the polish on the sponge dries fast. You want the scale pattern to be subtle, not chunky. A second light dab of shimmer polish on top can add extra dimension.
Adding Ocean Inspired Accents Without Overdoing It
Mermaid nails look best when the accents are strategic, not everywhere. Pick one accent nail per hand (usually the ring finger) for the most intricate details. On that nail, you can create a simple gradient using the same sponge technique, then add a small starfish or seashell charm. Use a dotting tool to place a tiny drop of clear nail glue, then press the charm in place. You can also paint a single gold or silver stripe down the center of the accent nail for a “scales in motion” look.
For the other nails, keep the accents minimal. A few scattered dots in gold or white near the cuticle line works well. You can also sprinkle a tiny amount of loose iridescent glitter over the wet top coat on the accent nail. Tap off the excess gently. Do not layer too many colors. Stick to two main shades (teal and iridescent shimmer) plus one metallic accent (gold, silver, or rose gold).
Sealing Your Design with a Top Coat That Lasts
Do not skip the top coat. It is the only thing that will protect your sponge-created texture from chipping. Use a thick, glossy top coat and apply it generously over each nail. Cap the free edge (the tip of the nail) by swiping the brush across the tip as well. This
#MermaidNailArt #NailArtDesigns #ManicureIdeas #DIYNails #SummerNails
Leave a Comment