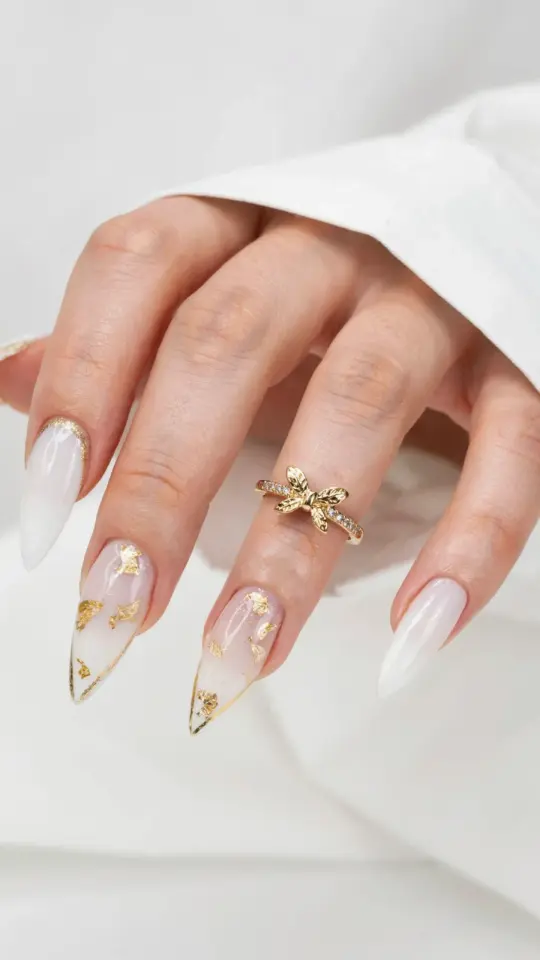
Look, I love the look of expensive salon acrylic nail art. But my bank account? We have a complicated relationship. So I started figuring out how to get that high-end vibe for practically nothing. And honestly, you can absolutely pull off acrylic nail art on a budget if you know a few cheap tricks and where to focus your time. This guide is about doing exactly that. It is about nailing the technique (pun intended) without dropping fifty bucks every two weeks.
Start With a Cheap Acrylic Kit and Mean It
Here is the first thing you need to understand. You do not need professional monomer from a beauty supply store to get started. I bought my first kit on Amazon for about $16. It smelled like a chemical plant exploded in my living room, and my cat literally left the room and judged me from the hallway. But guess what? The nails turned out great.
Look for a starter kit that includes liquid, powder, a brush, and a basic file. Brands like Modelones or Saviland are totally fine for this. The key is to just start practicing. You will mess up. The powder might get lumpy. It is fine. You are learning and saving a ton of cash at the same time.
One specific thing I learned? The brush that comes with those kits is often flimsy. It is thin and bends weird. But you can still form a bead with it. Just make sure to clean it thoroughly with monomer after each use. Otherwise, it turns into a rock. A rock that used to be a brush.
Master the French Manicure (It Costs Pennies)
The French tip is the ultimate “I spent money but I actually didn’t” look. It screams clean, professional, and expensive. You can achieve it with a $2 bottle of white polish or just using your white acrylic powder to sculpt the tips directly.
Here’s how you do it cheaply:
- Buy a roll of striping tape for literally one dollar. Place it across the nail to create a perfect curve.
- Paint the tip with white polish or dip it in white powder.
- Peel the tape off while the polish is still wet. It is deeply satisfying.
- Seal it with a good top coat.
That is it. You just saved yourself $25. Also, I have found that the cheaper white polishes (like the ones at drugstores) actually work better for this because they are a little thicker and don’t bleed under the tape.
DIY Ombre Nails With a Makeup Sponge
Ok so this technique is messy. I am not going to lie to you. You will get polish all over your cuticles. But the result is a soft, airbrushed gradient that looks like you spent an hour blending it perfectly. You didn’t. A sponge did the work for you.
You just paint two or three stripes of color onto a regular makeup wedge sponge. Dab it onto the nail gently. It transfers the color and blends the edges. It is almost like magic. You can do a nude-to-pink fade or something bolder like navy to silver.
The cleanup is the annoying part. But I just dip a tiny brush in acetone and walk around the edges of the nail. It takes two minutes. The total cost of the sponge? Like 10 cents. The look is easily a $50 service in a salon. Do not underestimate the sponge gradient.
Minimalist Florals and Geometric Weirdness
Trendy nail art does not have to be complicated. Honestly, minimalism is perfect for beginners because it forgives mistakes. You can buy a set of dotting tools for about $3 online. Or you can lose them and use a bobby pin like I did. A bobby pin works shockingly well for making small dots.
For a simple flower: make five dots in a circle and one dot in the middle. That is a flower. It is cute. It looks intentional. For geometric lines, use thin striping brushes or just paint little negative space shapes.
Here is a bizarre hyper-specific tip: I once used the edge of a paperclip to scrape out a straight line in wet polish. It actually looked cool. The point is you do not need expensive tools. You need creativity and a steady hand. Or just a steady enough hand. You can always blame the wonky lines on “abstract art.”
The Glitter Gradient Trick (Loose Glitter is Cheap)
Glitter is the cheapest way to make a nail look expensive. It catches the light and distracts everyone from the fact that you did this on your kitchen table. Do not buy glitter polish. Buy a small jar of loose cosmetic glitter. It costs like $4 and will last you for dozens of manicures.
Apply a layer of top coat to the tip of the nail. Dip it into the jar of glitter. Tap off the excess. You get a heavy, chunky glitter tip that looks like it was professionally encapsulated. It is so easy.
One warning: do not breathe in the glitter dust. That stuff gets everywhere. I found sparkles in my coffee mug for a week after I did this. But my nails looked fire, so it was a worthy sacrifice.
Invest in a Decent Top Coat (Seriously)
This is where you should actually spend a little money. A $5 bottle of cheap top coat will get dull and cloudy quickly. It will ruin your hard work. But a slightly better one, like a $9 bottle of Seche Vite or a similar fast-drying brand, changes the game entirely.
It gives you that thick, glass-like shine. It makes cheap drugstore polish look like a professional gel finish. It also dries super fast, which means you are less likely to smudge your
#budgetacrylicnails #affordablenailart #acrylicnailsideas #diynails #nailtrends
Leave a Comment