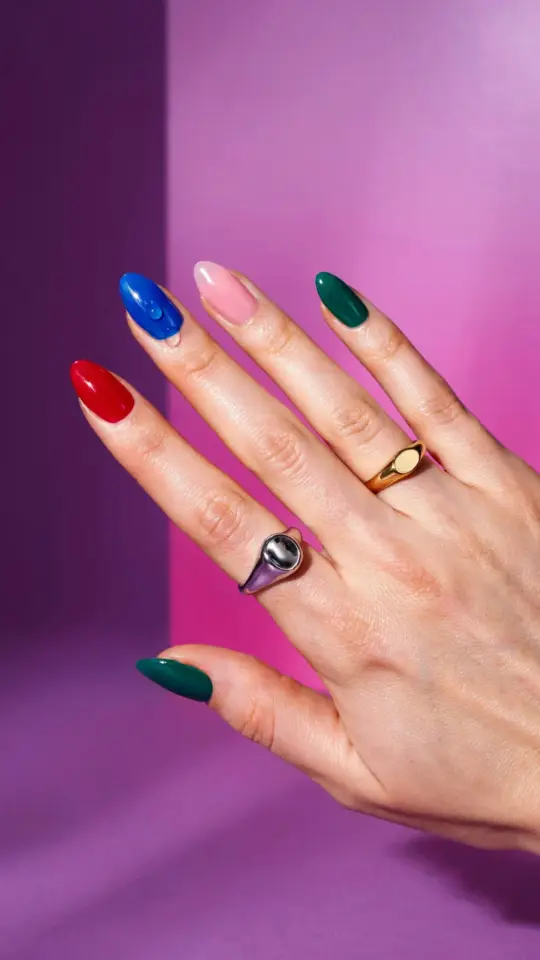
If you have been scrolling through Instagram lately, you have probably seen chrome nails everywhere. That mirror finish is hypnotic. I always assumed it cost a fortune at a salon, but I have since learned you can get the look for under $30 with a few gel products and some patience. The trick I want to share today is a specific combo: a pale blue gel base with a silver mirror powder. It creates a liquid metal effect that catches light without feeling harsh. Let me show you how to do it without breaking your bank.
What You Actually Need for DIY Chrome Nails at Home
You do not need a professional nail kit with fifty bottles. You need five things: a gel base coat, a pale blue gel polish, a matte top coat, chrome powder, and a no-wipe top coat. That is it. The chrome powder is the star, and you can find it online for around $5 to $8 in small jars. A little goes a long way.
Do you have a UV or LED lamp? That is essential because regular nail polish will not cure hard enough for buffing. If you do not own one, a basic 36 watt lamp costs about $15. Most gel polishes work with both UV and LED, so check the bottle instructions.
The Pale Blue Base That Makes Silver Chrome Pop
Why pale blue instead of black or white? I tried a white base first and the chrome looked flat. Black made it too intense for my taste. A soft baby blue or icy pastel gives the silver powder depth without screaming for attention. The contrast is subtle but it makes the chrome look more like real liquid metal.
My current favorite is a sheer sky blue gel called “Crystal Lagoon” from a budget brand near me. You can use any light blue shade. If you only have a regular blue polish, mix a drop with clear gel to lighten it. The key is to keep it pale so the chrome powder does the heavy lifting.
Step by Step: How to Apply Chrome Powder Like a Pro
Here is the process my nail tech showed me after I complained about uneven results. Follow these steps and you will get a smooth mirror finish every time.
- Prep your nails. Push back cuticles, buff the surface lightly, and wipe with alcohol. Chrome powder needs a smooth canvas.
- Apply base coat and cure. Then two thin coats of pale blue gel, curing each under the lamp for 30 seconds (or according to your lamp).
- Seal with a matte top coat and cure. This step is the game changer. A matte surface grabs the powder better than a glossy one. Buffing onto matte feels like rubbing silk on sandpaper in a good way.
- Buff the chrome powder. Use a sponge applicator or your fingertip (clean, no oils). Rub the powder onto the matte surface in a circular motion until you see a mirror shine. Tap off the excess.
- Apply a no-wipe top coat and cure. Do not use a regular top coat with a sticky residue, it can dull the chrome. A no-wipe top coat locks in the shine.
That last step is crucial. If you use a regular top coat, the chrome may smear or lose its metallic quality. Trust me, I learned that the hard way and had to redo two nails.
Budget Friendly Chrome Nail Products That Actually Work
You do not need high-end salon brands. I bought a chrome powder set with six colors for $9 on Amazon. The silver one performs as well as the $18 one I tried from a beauty supply store. Just read reviews that mention “mirror finish” and “no clumping.”
For the pale blue gel, look for drugstore brands like Beetles or Modelones. They often sell mini sets under $12. The matte top coat is usually the same price as any other top coat. Spend your money on the no-wipe top coat instead of the chrome powder. A good no-wipe top coat makes the difference between a smudgy mess and a flawless mirror.
Common Chrome Nail Mistakes and How to Fix Them
My first attempt had patchy spots because I skipped the matte top coat. The powder just slid off the glossy surface. Another mistake I see often is buffing too hard. Gentle circular motions work better than pressing down like you are erasing a pencil mark.
If your chrome looks dull after the top coat, you might have used a sticky top coat instead of a no-wipe one. Some people recommend wiping the sticky layer with alcohol before applying the powder, but I find that makes the surface too slippery. Stick to matte top coat, then powder, then no-wipe top coat. That sequence works every time.
One more tip: if you mess up a nail, do not panic. Wipe off the uncured gel with acetone and start over. It takes ten extra minutes but saves you from wearing a patchy chrome that you will hate all week.
More Chrome Nail Color Combos to Try
Pale blue is my go to, but chrome powder looks amazing over other pastels too. Try a soft lavender base with silver powder for a dreamy effect. Or use a sheer pink base and gold chrome powder for a rose gold mirror. The same pale base trick works: keep the color light so the chrome reflects strongly.
You can also experiment with darker bases, like deep navy or burgundy, if you prefer a moody look. The chrome will look more like a holographic overlay than a mirror. I keep a small jar of silver chrome powder at all times because it pairs with almost any base color. It is the most versatile $6 I ever spent on nails.
Final Thoughts on Getting That Mirror Finish Without the Salon Price
Chrome nails do not have to be a luxury service you only get for special occasions. With a pale blue gel base, a matte top coat trick, and affordable chrome powder, you can recreate the look at home for the cost of a coffee and a sandwich. Give it a try on a weekend when you have an hour to spare. You might surprise yourself with how professional the finish looks. And if you do, save this article for your next nail appointment or share it with a friend who loves mirror nails.
#chromenails #gelnailinspo #nailartideas #mirrornails #nailpolish
Leave a Comment