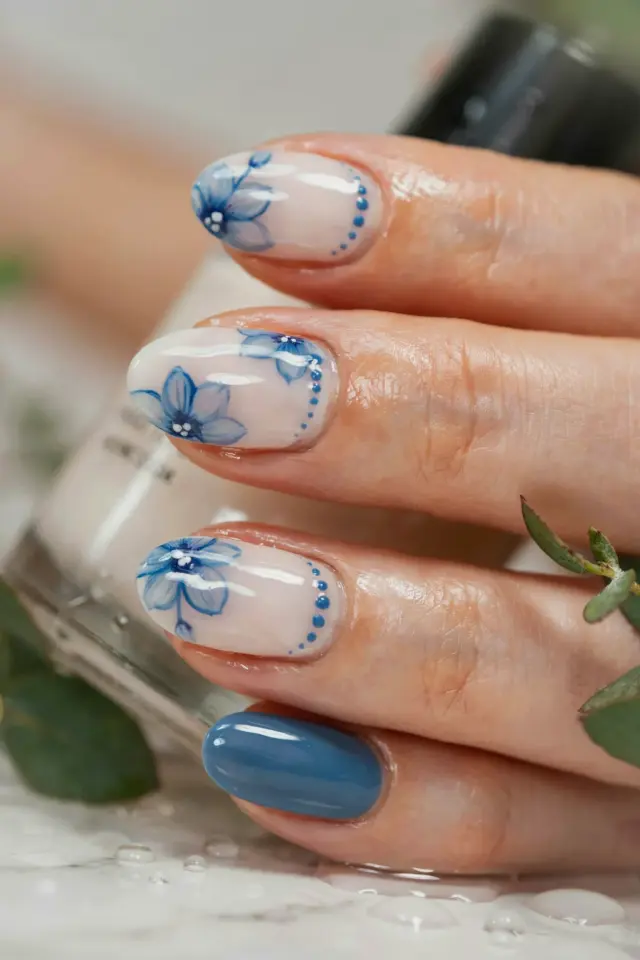
Okay, grab your favorite mug, wrap your fingers around something warm, and get ready to scroll through the most wearable nail art trend for the season. I am currently staring at a pile of chunky knit sweaters on my couch, and honestly, they are the only inspiration I need for my next manicure. There is just something so satisfying about matching your tips to the vibe of a cream-colored cardigan, and these cozy neutral nail art ideas are about to become your cold-weather uniform.
We are going to move past the basic beige and actually get into the *art* part. This is a practical how-to guide, not just a gallery of pretty pictures. I will walk you through the exact colors, textures, and easy techniques you need to pull off sweaters-weather nails without needing a nail tech degree. By the end, your hands will look as soft and put-together as your favorite cashmere blend.
Why Beige and Taupe Are the Real Power Couple of Neutral Nails
Look, black is great, and red is bold, but there is a specific magic in a milky white and a warm mocha sitting next to each other on your nail bed. The contrast is subtle, but it does the heavy lifting. It adds depth, which completely eliminates that “flat” look that a single solid shade of tan can sometimes give.
To get this cozy effect, you do not need a huge palette. Neutral nail colors for fall usually boil down to a few specific undertones. You want to grab a shade that looks like coffee with a ton of cream, one that looks like a toasted marshmallow, and one that has a slight gray or green tint to it, like a greige.
Here is a quick tip from my own messy collection. Do not buy a set of five matching bottles. Instead, mix and match brands. A cheap drugstore mauve looks incredible next to a high-end milky beige. The difference in finish and opacity actually gives you a custom look that nobody else will have.
Texture Talk: Matte vs. Glossy for That Knit Effect
Here’s the thing about sweater weather nails, it is not just about the color. It is about the feel. The biggest mistake I see people make is picking the perfect dusty taupe and then coating it in a blinding high-shine top coat. It looks more like patent leather than a fuzzy sweater.
A matte nail art look is the secret sauce here. It creates a soft focus effect on your hands that immediately reminds you of suede and wool. The texture completely changes the personality of the polish. It turns a simple manicure into a deliberate style statement.
If you want a happy medium, try a satin finish. It is not dull, but it is not shiny. Honestly, just swipe on a matte top coat and let it dry completely. They are forgiving, and if you mess up, you can just wipe it off with remover and start the top coat again. It takes less than a minute to transform the whole vibe of your nails.
How to Map Out Sweater Weather Nail Designs on Your Fingers
Ok so, before you start painting, you need a game plan. Creating a cozy look is all about balance. You don’t want every nail to look the same, but you also don’t want a chaotic rainbow. We are going for curated, not cluttered.
A great formula for sweater weather nail designs is to pick a “hero” nail. Usually this is your ring finger. That is the nail you are going to spend the most time on. The rest of your fingers should be simpler.
Here is a breakdown of how I split up my ten fingers to get that perfect Pinterest board look:
– **The Accent Nail:** Do a simple pattern here, maybe a single heart or a clean vertical stripe.
– **The Base Nails:** Keep these solid. They ground the design.
– **The Tiny Detail:** If you are feeling brave, add a small polka dot or a tiny cable-knit stitch pattern to just one other finger, like your thumb.
– **The Rushed Finger:** One nail will be a little messy. That is okay. Nobody notices it unless you point it out.
This method keeps the design interesting without requiring an hour of freehand painting. It is all about tricking the eye into seeing a complete, cohesive set.
Your Step-by-Step Guide to the “Knit Stitch” Nail Art Hack
Since we are doing a guide, let’s get to the good part, the actual technique. You do not need a nail brush that costs fifty dollars. You can use the brush that comes in the bottle, or a bobby pin. Neutral nail art at home is honestly easier than you think.
First, paint your base color. Let it dry until it is not sticky to the touch. This is crucial. If you try to draw on wet polish, you will just smear everything into a muddy brown disaster.
Next, take a slightly darker neutral, like a warm brown or a deep taupe. Using the tip of the brush, draw a tiny “V” shape, like a little bird in flight. Then, draw another “V” right next to it, slightly overlapping. This creates a line of zig-zag seams that looks exactly like a cable-knit braid. It really is that simple.
Here is where my mild obsession comes in, finish it with a matte coat. The matte coat is what really glues the look together. It blurs the lines between your base color and your pattern, making it look like the details are woven *into* the polish, not painted on top. It is a little bit of a magic trick, and it looks so expensive.
Matching Your Nail Length to Your Knitwear
Here is an opinion you didn’t ask for: these colors look best on shorter nails. When you are wearing chunky, cozy sweaters, having long, stiletto nails feels a little off. It is like wearing a ballgown with sneakers. It can work, but it takes a specific personality to pull it off.
I am a fan of keeping your tips just past the end of your finger, like a rounded almond or a simple square. This length is practical. It doesn’t snag on the wool of your sleeves, and it makes the fall nails look delicate. On this length, the neutral colors really shine because they aren’t competing with a giant canvas.
If you have shorter nails, you are in luck. The knit stitch pattern works even better on a tiny nail bed. It just looks like a cute little texture. If you have longer nails, do not panic. Just stick to a solid color on those and maybe add a single stripe of white down the middle. It keeps the proportions balanced.
My Honest Checklist for the Perfect Far-From-Boring Neutral Mani
I have to be real with you for a second. I usually despise plain nudes. They often read as lazy, or like you just couldn’t be bothered to pick a color. But when you add that specific sweater-like texture or a tiny subtle pattern, it completely changes the narrative. It looks like you planned, curated, and executed a look, rather than just grabbing the first bottle of beige you found.
Before you run off to paint, let me leave you with the exact list I use every time to make sure I get that soft, warm, expensive-looking result. It is a mix of strategy and common sense.
– Use a ridge-filling base coat. This is your winter savior.
– Do not shake the nail polish. Roll it between your hands to mix it and avoid bubbles.
– Paint in three strokes: one down the center, one on each side. This keeps the color even.
– Let each layer dry completely. Set a timer. Do not sit there and blow on your hands like I do.
– Always, always, always add a matte top coat.
Honestly, just trying one of these ideas might change how you look at neutral polish forever. The combination of a warm palette and a change in texture gives you a put-together feeling that even the busiest week can’t ruin.
So, are you a matte girl, or do you think you’ll stick to the gloss? Pick one of these cozy combos, pair it with a chunky cardigan, and let me know which skin tone you’re loving it with. I would love to hear which shade you are grabbing first. ☕
Leave a Comment