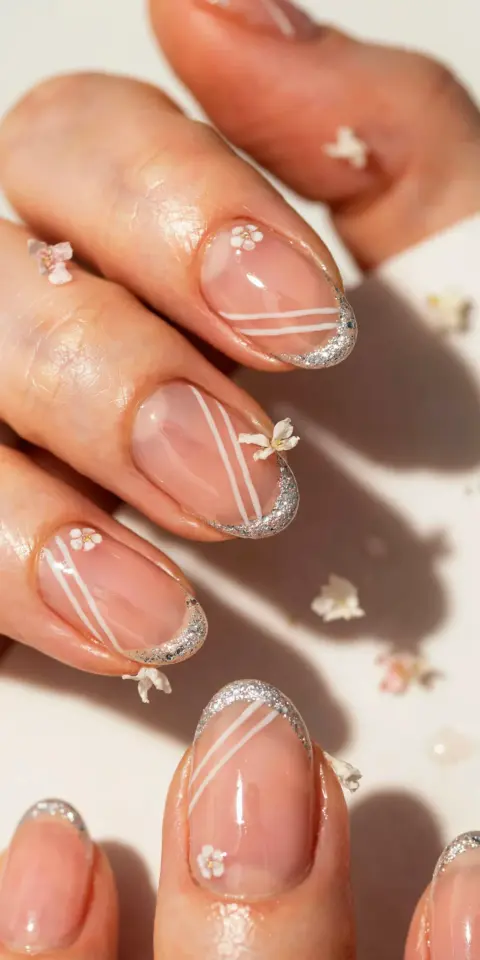
So you bought a gel nail stamping plate set because you saw those perfect little florals and geometrics on Pinterest and thought, yeah I can do that. And you absolutely can. But if your first few attempts looked more like a messy inkblot test than a manicure, you are not alone. I have been there. That first time I tried stamping with gel polish, I ended up with a smear that looked like a sad, half-eaten gummy worm. But here’s the thing: once you know the common mistakes, it becomes actually easy. And fun. This stamping plate set with its 12 patterns is a total find for beginners, but only if you avoid a few traps. Let me walk you through them so your next manicure turns out cute, not catastrophic.
Picking the Wrong Plate for Gel Polish (The hidden trap)
Not all stamping plates work well with gel polish. Some have shallow engravings that just don’t pick up the thicker gel formula. I learned this the hard way when I bought a cheap plate off Amazon that was clearly designed for regular nail polish. The gel barely clung to the design. Honestly, it felt like trying to spoon up soup with a fork.
Look for plates with deep, crisp cuts. The set I use has really defined lines, which makes a massive difference. If you already have a plate and it’s not working, try a different brand. But here’s a pro tip: you can actually test a plate by pressing your finger over the dry engraving. If you can feel the groove clearly, it’s deep enough. If it feels flat as a pancake, toss it.
Skipping the No-Wipe Top Coat (A beginner’s biggest oops)
This is the number one mistake I see. People stamp right onto their gel color, cure it, and then wonder why the design smudges under a regular top coat. Gel polish has a sticky inhibition layer. If you stamp directly onto that sticky surface, your design will morph into a blurry mess. Not gonna lie, I did this three times before I got angry enough to Google it.
You need a no-wipe top coat as your final layer. Cure it, wipe off the tacky layer if needed (some are genuinely no-wipe), and then stamp on that hard, non-sticky surface. It gives the stamping gel something to grip without sliding around. I personally use a no-wipe top coat from a brand I found at the drugstore, and it works perfectly. Just make sure it’s fully cured before you stamp.
Pressing Too Hard or Too Light (The Goldilocks problem)
Stamping requires a gentle, even pressure. Press too hard and the design gets squished into a blobby pancake. Press too light and only half the pattern transfers. I remember once I pressed so gently that I got a floating petal that looked like a lost eyelash on my nail. Funny but not cute.
The trick is a quick, firm roll of the stamper over the plate, then an equally firm roll onto your nail. Do not push straight down. Roll. Imagine you’re rolling a tiny rolling pin. And practice on a fake nail first. Seriously, grab some practice tips or even an old takeout lid. It feels silly but saves frustration.
Forgetting to Clean Your Stamper Properly (Sticky residue ruins everything)
This one drives me nuts because it’s so easy to fix, yet so many people skip it. After each stamp, there is leftover gel on your stamper. If you don’t clean it off completely, the next design will have ghost lines from the previous pattern. And gel polish dries fast. That leftover gunk hardens and makes your stamper less tacky over time.
So how do you clean it? Use a lint-free wipe with a little isopropyl alcohol. Do not use acetone unless you want to ruin the stamper’s surface. I also keep a piece of Scotch tape handy to lift off any stubborn bits. Here’s a quick checklist for good stamper hygiene:
- Wipe stamper with alcohol after each stamp.
- If it gets cloudy or less sticky, lightly buff it with a fine-grit nail file (the soft kind).
- Replace the stamper head every few months if you use it a lot.
- Store it face down in a little dish so dust doesn’t settle on it.
Using the Wrong Gel Polish Consistency (Thick is a nightmare)
Not all gel polishes are made for stamping. Some are too thick and won’t flow into the plate’s engraving. Others are so runny they flood the design. I once tried stamping with a super pigmented red that was basically the consistency of melted crayon. It went everywhere. My nail looked like a crime scene.
You want a gel polish that’s thin enough to be spread across the plate easily but thick enough to stay in the lines. You can buy specific stamping gel polishes, but honestly, many regular gels work fine if you test them first. Another trick: if your gel is too thick, warm it up in your pocket for a few minutes. The heat thins it out just enough. Works like a charm.
Not Sealing the Design Fast Enough (The smear factor)
Ok so you’ve stamped a perfect little flower. You’re admiring it. Then you reach for your top coat and accidentally brush a finger across it. Smear. Or you cure it, but the design is still tacky and you smudge it while trying to cure under the lamp. I have done this more times than I’d like to admit. One time I spent 20 minutes on a full hand of tiny roses and then bumped my thumb against the lamp’s edge. Ruined.
The solution: cure the stamping gel immediately after you apply it. Don’t even stop to check it. Stamp, pop under the lamp for the recommended time (usually 30 seconds), then look. If it’s perfect, great. If not, you can wipe it off and start again without disturbing anything. Also, keep your top coat brush at the ready. Do not dawdle.
Honestly, the whole process gets easier with practice. Your first few designs might be wonky. That’s fine. My first stamping project was a set of uneven stars that looked more like mutant snowflakes. But now I can knock out a full manicure in under an hour. And this stamping plate set with its florals and geometrics is perfect for building confidence. Just avoid these pitfalls and you’ll be saving your Pinterest saves for real.
So go ahead, grab your gel polish, a no-wipe top coat, and that stamping plate. Try a simple polka dot pattern or a single flower on your accent nail. If it goes wrong, laugh it off and try again. And when you nail it, tag me so I can see. Happy stamping!
#gelnail #nailart #stampingplate #diynails #gelpolish
Leave a Comment