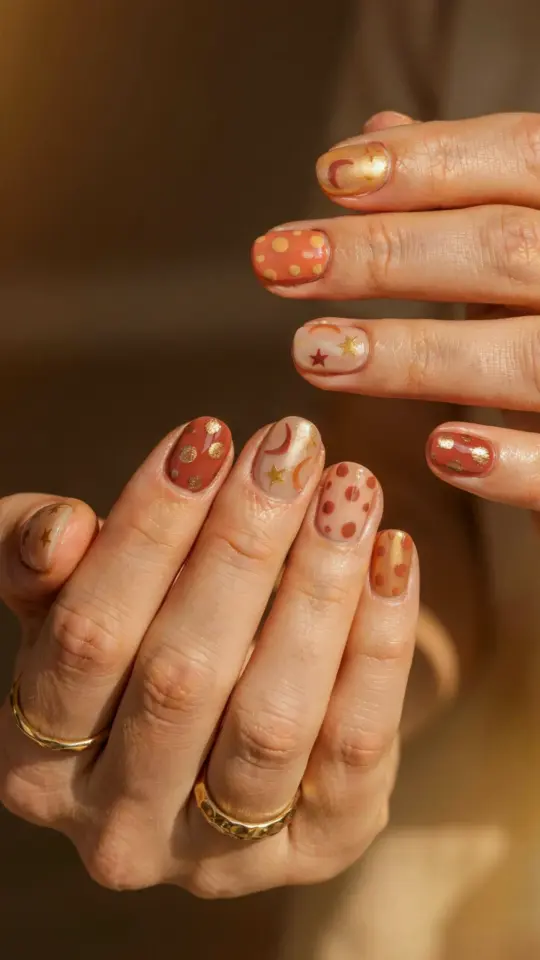
The first time I stamped a tiny pineapple onto my thumbnail, I honestly laughed out loud. It took me maybe ninety seconds, from scrape to press, and the pattern looked like I had paid someone to do it. Nail stamping plates are the easiest way I have found to get cute nail art without a steady hand, a fine brush, or hours of free time. My right hand has always been the traitor in any DIY nail art attempt, so this felt like a cheat code.
What You Actually Need for Nail Stamping
You do not need a fancy kit, not at first. Here is the minimal setup that works:
- A stamper with a squishy, clear silicone head
- A metal scraper card (the plastic ones bend and make you angry)
- Stamping polish in a high-pigment color like black, white, or a bold metallic
- One plate with a pattern you actually like
That is it. You can buy a bundle for under fifteen dollars, or you can obsess for weeks like I did and end up with a drawer full of plates. Look, once you own four plates, you own forty. It snowballs. The quick-dry polishes from the drugstore might not work well for stamping, though. They dry too fast or too thin, and then you get frustrated. Real stamping polish has more pigment and a slower dry time, and that makes all the difference.
How to Stamp Your Nail in Three Honest Steps
The whole process is basically scrape, press, done. But here is the real order, with the details nobody tells you. First, paint your base color and let it dry completely. Not almost dry, completely dry, or the stamp will pull up the base and you will say a bad word.
Drop a glob of stamping polish on the plate, right over the design. Use the scraper at a 45 degree angle and drag it across firmly, once. You want the polish to fill the engraved lines, not smear all over the surface. Second, press the stamper onto the design. Here is the thing: do not roll it, and do not apply heavy pressure. Just touch it down and lift. The image transfers onto the silicone like a temporary tattoo. You will see it sitting there, perfectly crisp, and you will briefly feel like a wizard.
Third, press the stamper onto your nail. Same deal, gentle touch, one motion. If you mess up, use a tiny brush and acetone to clean the nail, and try again. It is genuinely forgiving, which is why I still use this method even after years of trying to get better at hand painting.
The Most Annoying Nail Stamping Mistakes and How to Fix Them
Your pattern comes out patchy, or it sticks to the plate instead of the stamper. This happens to everyone, and it is fixable. First, wash the plate with soap and water before you use it. New plates have a blue film and sometimes a greasy residue that ruins everything. Also, wipe the stamper head with a lint roller or tape before each use. Silicone collects dust like it is paid to do it.
Another issue is too much polish on the plate. You want one generous glob, but after scraping, the design should look filled, not flooded. If the stamp looks smudged or see-through, scrape harder and work faster. And if the image will not pick up at all, check whether your stamper is the firm jelly kind or the older hard rubber kind. The firm ones are better, and the cheap hard ones are basically useless.
Picking the Right Plate Matters More Than You Think
Not all plates are created equal, unfortunately. The cheaper plates often have shallow etching, so they never transfer fully. I bought a three-dollar plate once, and the lines came out so faint that the design looked like a ghost, which is not a vibe. Look for plates with deep, crisp lines and a known brand name, even if it costs a little more. Check whether the pattern fits your nail width, too. Some plates have huge images meant for larger nails, and they will not fit the tiny bed of your pinky.
The design style matters as much as the quality. Do you like florals, geometric shapes, creepy little moths, tiny fruit? There are plates for every obsession. I have a plate with a cat wearing a space helmet, and I have never regretted buying it. That is the kind of personal choice you cannot outsource.
Five DIY Nail Art Ideas to Try With Your Stamps
Once you get the basics down, stamping opens up a whole world of DIY nail art ideas. Here are five that actually work:
– A single accent nail with a full-cover floral pattern while the other nails stay plain
– A sheer nude base with one thin line stamped down the center, like a minimalist stripe
– Bold black lace over a pastel pink, which sounds fancy but takes five minutes
– A little swarm of tiny stars scattered by stamping onto a silicone mat, then picking them up with tweezers
– French tips made by stamping a curved pattern near the
Leave a Comment